How to Record Audio With a Wireless Microphone
If you’re looking to record Audio With a Wireless Microphone, there are a few things you’ll need to do in order to get started. First, you’ll need to choose the right wireless microphone for your needs. There are many different types of wireless microphones on the market, so it’s important to select one that will best suit your recording needs.
Once you’ve chosen a wireless microphone, you’ll need to connect it to your recording device. This can be done either through a physical connection or via Bluetooth. If you’re using a Bluetooth connection, you’ll need to make sure that your recording device is compatible with the wireless microphone.
Once you’ve made all the necessary connections, you should be able to start recording audio with your wireless microphone!
- Purchase a wireless microphone that is compatible with your recording device
- Connect the wireless receiver to your recording device
- Turn on the wireless microphone and receiver
- Adjust the volume on the wireless microphone and receiver as needed
- Begin speaking or singing into the microphone, and adjust the volume accordingly if necessary
- When finished recording, turn off the wireless microphone and receiver
Credit: www.mediashi.com
How to Record Audio With a Wireless Microphone
Are you looking to improve your audio recordings? Here are a few tips on how to record audio with a microphone. First, make sure that the microphone is in the correct position.
The further away the mic is from the sound source, the worse the quality of the recording will be. For best results, keep the mic as close to the sound source as possible without causing any distortion. Second, pay attention to background noise.
Any Noise coming through loud and clear in your recording will only serve to distract listeners from what you’re saying. If possible, try to find a quiet room to record in or use some form of noise cancellation if necessary. Finally, when speaking into the microphone, try not to move around too much or make any sudden movements.
These can cause unwanted pops and clicks in your recording which can be quite jarring for listeners.
Can You Record With a Wireless Microphone?
Wireless microphones are becoming increasingly popular for a number of reasons. They offer the flexibility to move around without being tethered to a sound system, and they can be used in places where it would be difficult to run cables. But can you record with a wireless microphone?
The short answer is yes, you can record with a wireless microphone. In fact, many professional studios use wireless systems for recording vocals and other instruments. There are a few things to keep in mind when using a wireless system for recording, however.
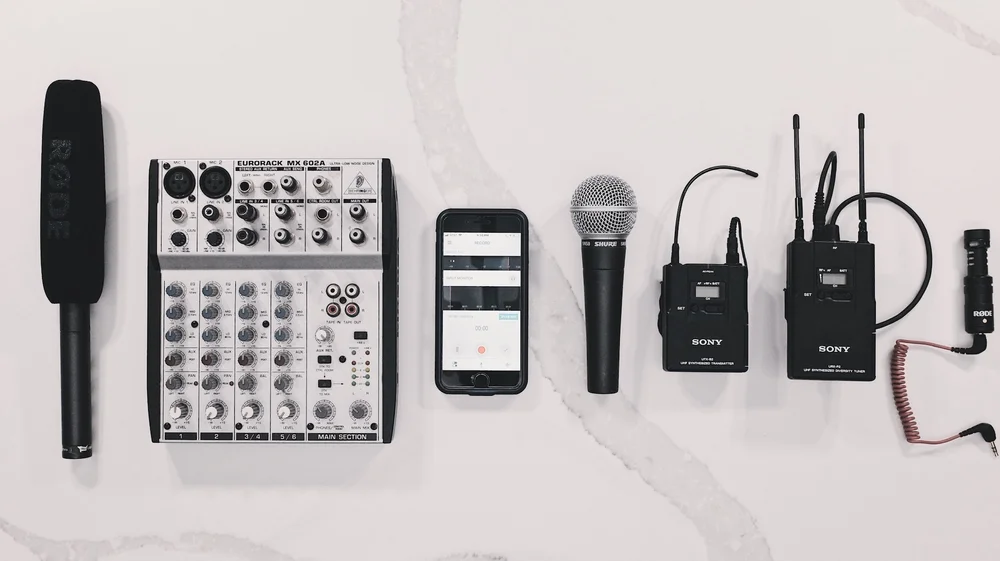
First, make sure that the receiver is connected to your recording device properly. Most receivers have XLR outputs that need to be plugged into an XLR input on your recorder or interface. If you’re not sure how to do this, consult your owner’s manual or the manufacturer’s website.
Second, pay attention to the bit depth and sample rate settings on your recorder or interface. These need to match the settings on the transmitter in order for the signal to be recorded properly. Again, consult your owner’s manual or manufacturer’s website if you’re not sure how to set these properly.
Finally, make sure that the batteries in both the transmitter and receiver are fresh and have plenty of power before beginning your recording session. Nothing is worse than having your batteries die halfway through a take! With these tips in mind, you should be able to get great results from recording with a wireless microphone system.
How Do You Get Sound from a Wireless Microphone?
A wireless microphone is a microphone that uses radio waves to send signals from the microphone to a receiver. The receiver then amplifies the signal and sends it to an audio input device such as a speaker or PA system. Wireless microphones are great for presentations, speeches, and other events where you need to be able to move around freely without being tethered to a sound system by a cable.
To use a wireless microphone, you will first need to connect the receiver to an audio input device. Then, turn on the transmitter and receiver. The transmitter will emit a radio signal that the receiver will pick up.
You can then speak into the microphone and your voice will be transmitted wirelessly to the receiver!
How Do You Use a Wireless Microphone?
If you’re looking to add a wireless microphone to your audio repertoire, you’ve come to the right place. This guide will teach you everything you need to know about using a wireless microphone, from choosing the right model to set it up for optimal performance. When shopping for a wireless microphone, there are a few things you’ll want to keep in mind.
First, consider what type of application you’ll be using the mic for. If you need a mic that can handle high volume levels, like for live music performances, then look for a model with a high SPL (sound pressure level) rating. Next, think about what frequency range you need.
If you’ll be using the mic outdoors or in other areas with significant RF interference, then look for a model that operates in the UHF band (ultra-high frequency). These models are typically more expensive than their VHF (very-high frequency) counterparts, but they offer much better range and clarity. Finally, make sure to check out the battery life of any wireless microphone you’re considering.
Most models will give you at least 4 hours of continuous use on a single AA or AAA battery, but if you need something that will last all day long, then look for a model with extended battery life or even rechargeable batteries. Once you’ve found the perfect wireless microphone for your needs, it’s time to set it up correctly so that it performs at its best. Here are some tips:
1) Place the receiver unit as close to your sound system as possible. This will minimize signal loss and ensure maximum clarity and range.
2) If your receiver has an antenna extension port, connect an external antenna – this can dramatically improve reception in difficult environments.
3) Use good quality XLR cables to connect the receiver output(s)to your mixer or amplifier – cheap cables can introduce noise and distortion into the signal path.
4) Always mute any unused channels on your receiver – otherwise, they can act as oscillators and cause interference problems
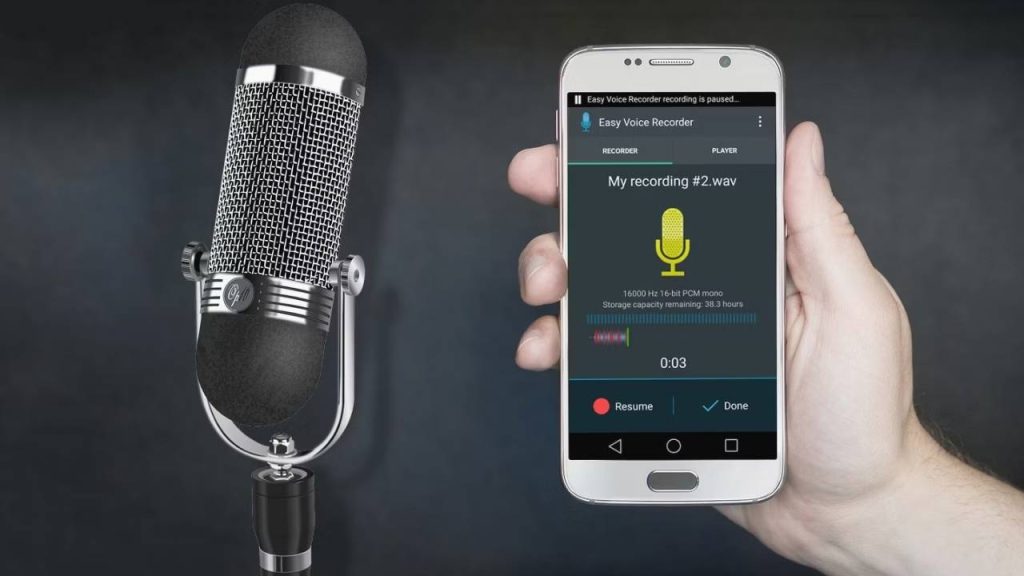
How Do I Record Audio Using an External Mic?
It is possible to record audio using an external microphone with most computers. The process typically involves plugging the microphone into the computer’s audio input port, selecting the input source in the sound recording software, and then starting the recording. Some microphones may require additional power, which can be provided by a USB port or batteries.
It is also important to choose a quiet location for recording, as background noise can be picked up by the microphone and affect the quality of the recording.
Use Bluetooth Headphone as Wireless Mic for Video Recording
Conclusion
If you’ve ever wanted to record audio without being tethered to a microphone, then a wireless microphone is perfect for you. Here’s how to record audio with a wireless microphone:
1. Choose the right type of wireless microphone. There are two main types of wireless microphones: handheld and lavalier (lapel). Handheld mics are great for speeches or presentations, while lavalier mics are more discreet and can be clipped onto your clothing.
2. Set up the receiver. The receiver is the base station that picks up the signal from the wireless microphone and sends it to your recording device. Make sure you place the receiver in an area with good reception.
3. Connect the receiver to your recording device. Most receivers will have a standard 3-pin XLR output that can be connected directly to your camera or mixer/recorder. If your device doesn’t have an XLR input, you’ll need an adapter cable.
4. Turn on the power and test your levels.
Once everything is connected, turn on both the transmitter and receiver and test your levels by speaking into the mic. You should see the level indicator on the receiver moving as you speak. If everything looks good, you’re ready to start recording!