How to Test Amplifier Without Speakers | Unlimited Guides
If you want to Test Amplifier Without Speakers, you can use a few different methods. One is to connect a voltmeter to the amplifier’s output terminals and check for DC voltage. If there is no voltage, the amplifier is not working.
Another method is to use an oscilloscope to check for AC voltage at the output terminals. If there is no AC voltage, the amplifier is not working.
- Make sure that your amplifier is unplugged from any power source before you begin testing it
- Use a multimeter to test the voltage of the amplifier’s power supply
- The power supply should be providing the correct amount of voltage for your amplifier to function properly
- With the multimeter still attached to the power supply, turn on the amplifier and check for any changes in voltage
- If there are any changes, this could indicate a problem with the amplifier
- Next, disconnect the multimeter from the power supply and attach it to one of the amplifier’s outputs channels
- Again, turn on the amplifier and check for any changes in voltage
- If there are none, then your amplifier is likely functioning properly
.jpg)
Credit: www.themasterswitch.com
How Do You Test an Amp to See If It Works?
When you want to test an AMP, there are a few different ways that you can go about doing it. One option is to use the Google AMP validator, which will check your AMP pages and tell you if there are any errors. Another option is to use the Webmaster Tools from Google, which will also give you some insights into how your AMP pages are performing.
Finally, you can also use a tool like Pingdom to test the speed of your AMP pages.
How Do I Test Amplifier Without Speakers?
If you’re a musician, chances are you’ve had to deal with a blown amplifier at some point. While it’s not the end of the world, it can be frustrating trying to figure out what went wrong. In this blog post, we’ll walk you through how to test your amp for speakers so you can get back to making music as soon as possible.
The first thing you’ll want to do is make sure that all of the cables are plugged in correctly. If everything looks good there, the next step is to check the fuse. If the fuse is blown, replace it and try again.
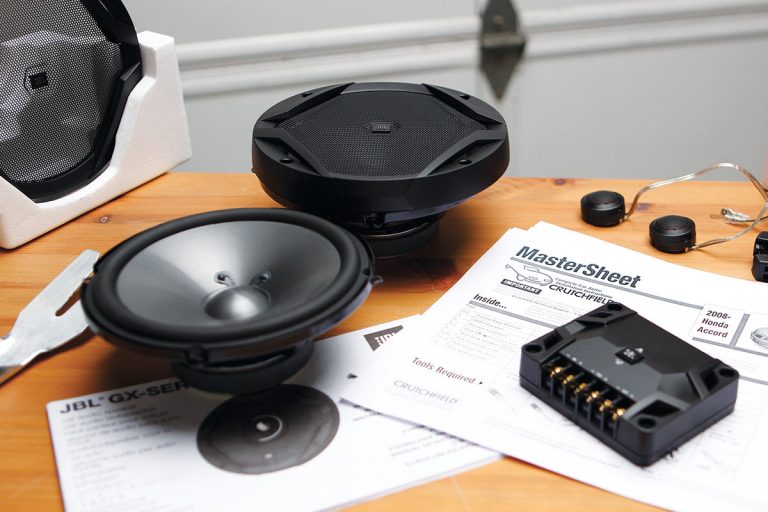
If the fuse isn’t the problem, then it’s likely that one of the speakers is blown. The best way to test this is by disconnecting each speaker one at a time and testing the amp with just one speaker connected. If the amp works with one speaker but not two, then you know which speaker is blown and needs to replace it.
Hopefully, this quick troubleshooting guide helps get your amp up and running again so you can get back to playing music!
How Do You Bench Test an Amp?
Assuming you have a multimeter and an audio source, you can bench test an amplifier by following these steps: 1. Connect the negative lead of your multimeter to the ground terminal of the amp. 2. Connect the positive lead of your multimeter to the positive terminal of the amp.
3. Set your multimeter to measure AC voltage and turn on your audio source. 4. Increase the volume on your audio source until you see a reading on your multimeter. This is the peak voltage output of your amplifier.
How Do You Diagnose an Amplifier?
If your amplifier is having issues, there are a few things you can do to try and diagnose the problem. First, check all of the connections to make sure they are secure. Next, check the fuse to see if it has blown.
If neither of these solutions fix the issue, you may need to take your amplifier to a professional for further diagnosis.
How to test and measure your amplifier outputs – avoid blowing up speakers
How to Test Amplifier Output With Multimeter
If you’re troubleshooting an amplifier, one of the first things you’ll want to do is test the output. A multimeter can be a helpful tool in this process, as it can give you a clear indication of whether or not the amplifier is working properly. Here’s how to test amplifier output with a multimeter:
1. Connect the positive lead of the multimeter to the positive terminal of the amplifier’s speaker output. 2. Connect the negative lead of the multimeter to the negative terminal of the speaker output. 3. Set the multimeter to its highest AC voltage setting and take a reading.
The reading should be close to zero if the amplifier is working properly. If there is no reading at all, or if the reading is significantly higher than zero, then there may be a problem with your amplifier.
How to Test Car Stereo Output With Multimeter
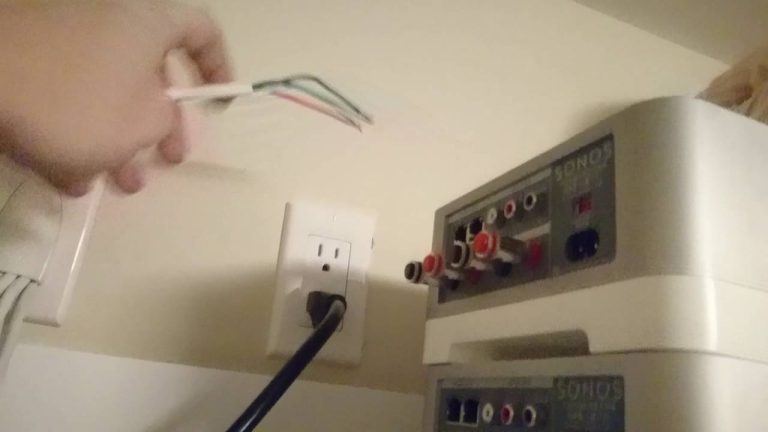
If you’re troubleshooting your car stereo and trying to determine if the problem is with the head unit or the speakers, one way to test is with a multimeter. With a simple test, you can check whether there’s an output signal from the head unit, and if so, how strong it is. First, make sure that your multimeter is set to read DC voltage and that it’s on the correct scale.
Then touch one lead of the multimeter to the ground wire of the stereo system (usually black) and touch the other lead to each of the wires going to the speakers in turn. If there’s no output at all, then there’s a problem with the head unit. If there is an output signal, it should be around 12 volts for most systems.
If it’s significantly lower than that, there may be a problem with either the head unit or the wiring between it and the speakers.
How to Test an Amp to See If It Blown
If you think your amplifier may be blown, there are a few tests you can do to check it out. First, check all the connections and make sure they’re secure. Next, test the amp’s fuse to see if it’s blown.
If the fuse is good, then use a multimeter to test the voltage coming from the power supply. If there’s no voltage coming from the power supply, then the amplifier is definitely blown. Finally, if you have an oscilloscope, you can hook it up to the amp and look for any distortion in the waveform.
If you see any distortion, then the amp is most likely blown.
How to Bench Test a Car Audio Amplifier
If you’re a car audio enthusiast, you know that one of the most important factors in choosing an amplifier is its power output. But how do you know if an amplifier can really deliver on its promised power? The best way to find out is to bench test it.
Here’s how to do a basic bench test of a car audio amplifier: 1. Connect the amp to your Bench Test Power Supply. 2. Set the voltage to 12 volts and the current limit to 30 amps.
3. Turn on the power supply and slowly increase the voltage until the amp goes into clipping. Make note of the voltage at which this happens. 4. turn off the power supply and disconnect the amp from it.
5. Now, connect a 1 ohm resistor across the positive and negative terminals of the amp’s output terminals. This will serve as a load for the amp during testing. 6 .
Connecttheampandresistorbacktothetestpowersupplyandsetthevoltageto12voltsagain .Turnonthepowersupplyandincreasethevoltageuntiltheamplifiergoesinto clipping again . Note : make sure that you’re using fresh batteries for your test so that they don’t skew your results .
Also , be sure to use alligator clips or some other type of connector that won’t come loose easily so you don’t accidentally fry anything . 7 .
Conclusion
If you want to test your amplifier without speakers, there are a few things you can do. First, disconnect the power supply from the amplifier. Next, connect a multimeter to the positive and negative terminals on the amplifier.
Set the multimeter to read DC volts and make sure it is set to the correct scale. Finally, turn on the power supply and measure the voltage across the terminals. If everything is working correctly, you should see a reading of around 12 volts.