How to Install Ceiling Speakers in New Construction | Powerful Tips
If you’re looking to Install Ceiling Speakers in New Construction, there are a few things you need to know. First, you’ll need to identify the type of speaker you want to use. There are two main types of ceiling speakers: in-ceiling and drop-in.
In-ceiling speakers are designed to be installed flush with the ceiling, while drop-in speakers sit on top of the ceiling tile. Both have their own set of pros and cons, so it’s important to choose the right one for your needs. Once you’ve selected your speaker type, it’s time to start the installation!
- Decide where you want your speakers to be placed
- Cut holes in the ceiling using a hole saw
- The size of the hole will depend on the size of your speaker
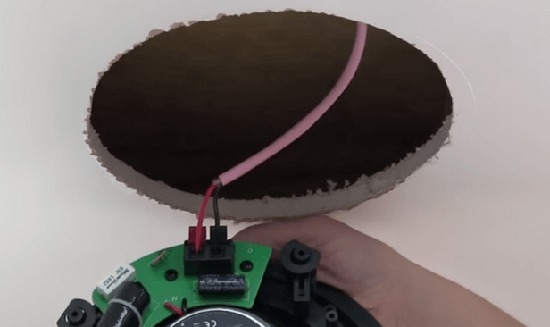
- Run wires through the holes to connect the speakers to your audio system
- Install brackets to secure the speakers in place, then screw the speakers into the brackets
- Connect the wires to the terminals on your speakers, then test them out by playing some music!
Credit: www.electronichouse.com
How Do I Get the Best Sound Out of My Ceiling Speakers?
If you’re looking to get the best sound out of your ceiling speakers, there are a few things you can do to ensure they perform at their best. First, make sure they’re properly positioned and installed. This means that they should be evenly spaced apart and at the correct height in relation to your listening position.
Second, use high-quality speaker wires to connect them to your receiver or amplifier. Third, experiment with different types of music to find what sounds best with your particular setup. And fourth, if possible, try using an equalizer to fine-tune the sound of your system.
By following these tips, you’ll be well on your way to enjoying optimal sound from your ceiling speakers.
How Do You Run Power to Ceiling Speakers?
If you want to add ceiling speakers to your home theater or audio setup, you’ll need to run power to them. This can be done in a few different ways, depending on the existing wiring in your home and the type of speakers you’re using. The easiest way to run power to ceiling speakers is to use an existing electrical outlet.
If the outlet is close enough to where you want to place the speaker, you can simply plug the speaker’s power cord into it. Otherwise, you’ll need to run some electrical wire from the outlet to the speaker location. Be sure to use wire that is rated for outdoor use if running it through any exposed areas.
Another option for powering ceiling speakers is by running wires through the attic or crawlspace. This may be necessary if there are no convenient outlets near the desired speaker locations. Again, be sure to use wire that is rated for outdoor use if running it through any exposed areas.
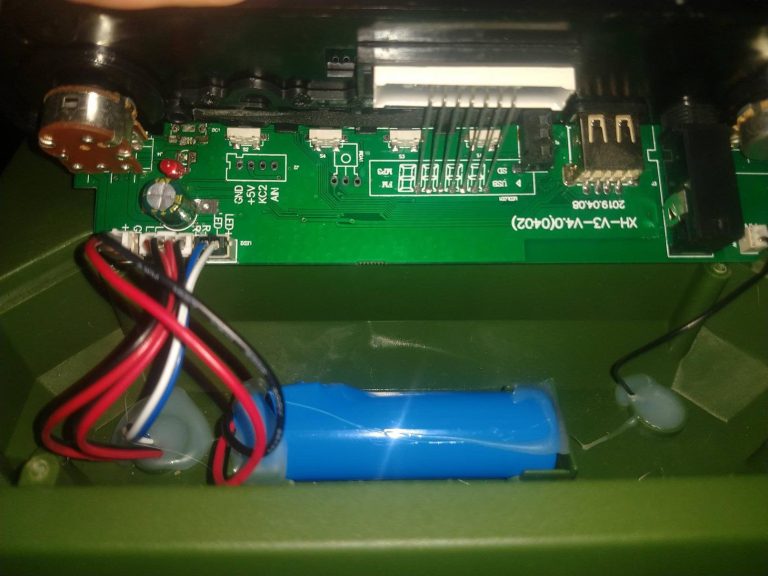
Finally, some ceiling speakers come with their own built-in amplifier and battery pack. These types of speakers don’t require any external power source, making them ideal for difficult-to-wire locations. However, they will need to be recharged periodically (usually every few months).
How Do You Run Speaker Wire in New Construction?
If you’re running speaker wire in new construction, there are a few things to keep in mind. First, make sure the wire is properly rated for in-wall use. Second, run the wire through drilled holes or conduits rather than nailing or stapling it into place.
This will help protect the wire from damage. Finally, be sure to leave enough slack at each end of the run so that you can connect the speakers without difficulty.
How Do You Hook Up Speakers to a New House?
There are a few different ways that you can hook up speakers to a new house. The most common way is to run the speaker wire from the receiver or amplifier to the speaker. This can be done through the walls or through the floor.
If you have an existing home theater system, you may be able to use the same wiring that is already in place. Another option is to use wireless speakers, which connect to the receiver using Bluetooth or Wi-Fi. These are easy to set up and don’t require any extra wiring.
How to install ceiling speakers in new construction
How to Install Ceiling Speakers Pre-Wired
If you’re looking to add some great sound to your home theater or living room, then installing ceiling speakers is a great option. But if you’re not familiar with the process, it can seem daunting. Luckily, we’re here to help!
Here’s a step-by-step guide on how to install pre-wired ceiling speakers.
1. First, you’ll need to identify the studs in your ceiling. This is where you’ll be attaching the speaker brackets.
Use a stud finder or simply tap on the ceiling until you locate them. Once you’ve found the studs, mark their location with a pencil so you know where to drill holes for the bracket screws.
2. Next, measure and cut the speaker wire to length. You’ll want to leave about 6 inches of extra wire at each end so you can easily connect it to your receiver or amplifier later on.
3. Now it’s time to drill holes for the speaker brackets. Drill pilot holes first, then use a hand screwdriver or power drill to attach the brackets securely into place using screws (make sure they’re long enough to go through both the drywall and into the stud).
4 . With the brackets in place, it’s time to start running your speaker wire through them. Feed one end of the wire through each bracket hole and pull it tight so there’s no slack in the wire (this will ensure the good sound quality).
Then repeat this process for each speaker (you may need someone else’s help depending on how many speakers you’re installing). Repeat steps 2-4 until all speakers are wired up.
5 . Now that your wires are run and all of your speakers are connected, it’s time to test everything out!
Pre Wire New Construction 2022
If you’re planning to build a new home in 2022, you may want to consider pre-wiring it for certain features. This can save you time and money down the road, and it may even make your home more attractive to potential buyers. Some of the things you may want to pre-wire for include:
• Security system: If you plan to install a security system, it’s much easier to do it during construction than after the fact. You’ll need to run wires from the control panel to each door and window, as well as any motion detectors or cameras.
• Home theater: A home theater is another popular feature that’s much easier to wire during construction.
You’ll need to run speaker wires and HDMI cables from the TV location to where the speakers will be located. It’s also a good idea to install conduit so that future changes or additions can be made without having to tear them into walls.
• Ethernet: Most homes nowadays have multiple devices that need an Internet connection, so running Ethernet cables throughout your home during construction is a good idea. This way, you won’t have unsightly cords running across floors or ceilings later on.
• Phone lines: If you plan on having landline phones in your home, installing the wiring during construction is much simpler than trying to do it after the fact. Just run the wires from each phone location back to a central point where they can be connected to the main phone line coming into your house.
New Construction Speaker Wire Installation
When installing new construction speaker wire, it is important to follow these steps:
1. Choose the appropriate gauge of speaker wire. The lower the number, the thicker the wire and the less resistance there is.
For long runs or runs with multiple speakers, a 16-gauge wire is recommended. For shorter runs with fewer speakers, an 18-gauge wire can be used.
2. Plan your route.
It is important to make sure that your speaker wire will not be in direct contact with any electrical wiring, as this could cause a short circuit. Also, avoid running your speaker wire through areas where there is a lot of metal or where it may be subject to physical damage.
3. Run your speaker wire along the chosen route and strip back about 1/2 inch of insulation from each end using a wire stripper tool.
If you are using banana plugs or binding posts, also strip back about 3/4 inch of insulation so that there is enough room to attach these connectors.
4. Connect one end of the speaker wire to your amplifier or receiver using either banana plugs or binding posts (depending on what type of input they have). Then connect the other end of the speaker wire to your speakers using either banana plugs or binding posts (depending on what type they have).
Make sure that all connections are secure and tight so that there is no risk of electrical shorts.
How to Build Enclosure for Wall Or Ceiling Speakers
Building an enclosure for your wall or ceiling speakers is a great way to improve the sound quality in your home theater or audio setup. Enclosures help to dampen and deflect noise, making for a clearer, more accurate sound. They also protect your speakers from dust and other debris.
Here are some tips on how to build an enclosure for your wall or ceiling speakers:
1. Choose the right material. The material you use for your enclosure will affect both the sound quality and the durability of the finished product.
MDF (medium-density fiberboard) is a popular choice for speaker enclosures because it provides good acoustic properties and is relatively inexpensive. However, MDF can be difficult to work with and is not as strong as some other materials like plywood. If you’re looking for something that’s easy to work with and still gives good sound quality, consider using acoustically transparent foam or polyfill stuffing inside your enclosure.
2. Make sure the dimensions are correct. The dimensions of your enclosure need to be just right in order to get the best possible sound quality from your speakers. The width should be slightly wider than the speaker itself, while the height and depth will depend on the size of the speaker driver (the part that actually produces sound).
A good rule of thumb is that the height and depth should each be about twice the diameter of the driver.
3. Seal any gaps or cracks. Once you’ve assembled your enclosure, make sure there are no gaps or cracks around where the speaker mounts to it.
These gaps can allow unwanted noise into your system, so it’s important to seal them up with caulking or another type of sealant before mounting your speaker(s).
4.” Install” Your Speakers! Now comes the fun part: installing your new wall or ceiling speakers!
With everything sealed up tight, simply screw or bolt your speakers into place using appropriate hardware (make sure not to overtighten). Once they’re mounted securely, sit back and enjoy improved sound quality in your home theater or audio setup!
Conclusion
If you’re planning on installing ceiling speakers in new construction, there are a few things you need to keep in mind. First, you’ll need to decide where you want the speakers to be located. Second, you’ll need to install the speaker brackets and then wire the speakers.
And lastly, you’ll need to test the system to make sure everything is working properly. Here are some tips to help you through the process:
1. Decide where you want the speakers to be located.
The best place for ceiling speakers is usually near the front of the room, about 6-12 inches from the front wall. If possible, try to avoid placing them directly above or below any windows or doors.
2. Install the speaker brackets and then wire the speakers.
The easiest way to do this is by using pre-made speaker kits that come with everything you need. Just follow the instructions that come with the kit.
3. Test the system to make sure everything is working properly.
Once everything is installed, turn on your stereo or home theater system and play some music or watch a movie. Walk around the room and listen for any sound problems such as echoes or muffled audio.