How to Wire Outdoor Speakers to the Receiver
If you’re looking to improve your home theater setup or simply want to enjoy music outdoors, then Wire Outdoor Speakers to the Receiver is a great option. Here’s a quick and easy guide on how to do just that: First, gather all of the necessary materials.
You’ll need speaker wire (preferably with an insulation rating of 65 or higher), wire cutters/strippers, and weatherproof tape. Once you have everything, start by running the speaker wire from the receiver to the location of the outdoor speakers. Next, strip about half an inch of insulation off of each end of the wires using wire cutters or strippers.
Be careful not to damage any of the inner copper strands. Once both wires are stripped, twist each one around a connector terminal before screwing it in place. Now take the other end of the speaker wire and run it from the outdoor speakers back to the receiver.
Again, strip about half an inch of insulation off before connecting it to its respective terminal. Finally, use weatherproof tape (or electrical tape) to seal up any exposed connections – this will help protect against moisture and corrosion. That’s it!
Your outdoor speakers should now be wired up and ready to go.
- Choose the location for your outdoor speakers
- Keep in mind that the speaker wire will need to reach the receiver, so plan accordingly
- Cut two lengths of speaker wire, making sure they are long enough to reach from the receiver to the chosen location for the outdoor speakers
- Strip 1/2 inch of insulation off each end of both lengths of speaker wire using a wire stripper tool
- Connect one end of each length of speaker wire to the binding posts on the back of the receiver labeled “Speaker Output
- ” Make sure to connect the positive (+) terminal on the receiver to the positive (+) terminal on each outdoor speaker, and likewise with negative (-) terminals
- Run the speaker wire through an exterior wall or door (if necessary) and attach it to each outdoor speaker using either push pins or small screws placed into pre-drilled holes at either top corner of each speaker’s back panel
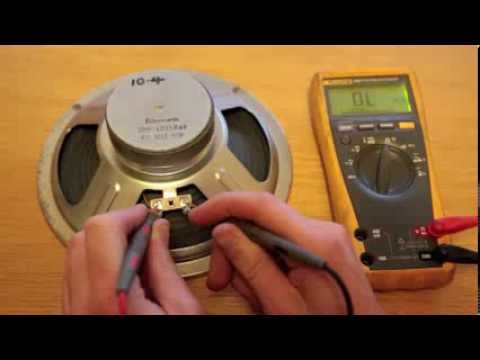
Credit: www.youtube.com
Outdoor Speaker Wiring Diagram

Outdoor Speaker Wiring Diagram Now that we have all the equipment, it is time to wire your outdoor speakers! This process is not difficult, but there are a few things to keep in mind.
The first is that you need to use speaker wire specifically designed for outdoor use. This type of wire is resistant to weather and can be buried underground if necessary. The second thing to keep in mind is that you need to make sure the connections are secure and will not come loose over time.
With that said, let’s get started! The first step is to run the speaker wire from the amplifier (or receiver) to the location of the outdoor speakers. If you are running the wire underground, be sure to use a conduit or another method of protecting the wire from being damaged.
Once you have run the wire to the desired location, it’s time to connect it to the speakers. Most outdoor speakers have two terminals – one for positive (+) and one for negative (-). Simply attach each end of the speaker wire to the corresponding terminal on each speaker.
Be sure that these connections are tight and will not come loose over time. Once all of your speakers are wired up, turn on your amplifier (or receiver) and enjoy your music!
How Do I Connect My Outdoor Speakers To My Receiver?
If you want to enjoy music outdoors, you may be wondering how to connect your outdoor speakers to your receiver. While it may seem like a daunting task, it’s actually quite simple. Here are the steps you need to take:
1. Choose the right location for your outdoor speakers. You’ll want to place them in an area where they won’t be obstructed by furniture or other objects.
2. Once you’ve selected the perfect spot, use the speaker wire to connect your outdoor speakers to your receiver. Be sure to use weatherproof speaker wire if you’re connecting the speakers directly to the receiver (rather than using an amplifier).
3. If you’re using an amplifier, connect the amplifier to your receiver using RCA cables. Then, connect your outdoor speakers to the amplifier using a speaker wire.
4. Turn on your receiver and enjoy your music!
How Do You Hardwire Outdoor Speakers?
Assuming you would like a blog post discussing how to hardwire outdoor speakers: Hardwiring outdoor speakers is a great way to get high-quality sound without having to worry about batteries. Here are the steps you need to take to hardwire your outdoor speakers:
1. Choose the right location for your speakers. When choosing a location, keep in mind that hardwired speakers need to be close to an outlet. You’ll also want to consider which direction you want the sound to come from and whether the speaker will be visible or hidden.
2. Drill a hole in the wall for the speaker wire. The size of the hole will depend on the size of the wire you’re using.
3. Run the speaker wire through the hole and into the back of the speaker. Make sure that there is enough slack so that you can easily move the speaker if necessary.
4. Connect positive and negative wires from your receiver (or amplifier) to their respective terminals on the back of each speaker using banana plugs or spade terminals (whatever type of connection your receiver uses). If using bare wire, twist each set of positives and negatives together before connecting them to avoid any loose strands causing a short circuit.5
5 . Once everything is connected, turn on your receiver and test out your new setup!
Do I Need a Separate Receiver for Outdoor Speakers?
No, you don’t need a separate receiver for outdoor speakers. You can use the same receiver that you use for indoor speakers.
How Do I Connect My Wired Speakers to My Receiver?
If you have a pair of passive speakers and an amplifier or AV receiver, you’ll need to connect the two using a speaker wire. This guide will show you how. What You’ll Need:
• Speaker wire • Wire strippers • Amplifier or AV receiver
• Passive speakers
1. Start by stripping about ½ inch of insulation off the end of each speaker wire using wire strippers.
2. Next, take your amplifier or AV receiver and locate the binding posts for the left and right channels. These are usually color-coded, with red corresponding to the right channel and black corresponding to the left channel.
3. Once you’ve located the binding posts, insert each stripped end of the speaker wire into the appropriate slot (red into right, black into left). If your binding posts have screws, be sure to tighten them down so that the wires are secure.
4. Now take your passive speakers and locate their input terminals – these will also be color-coded, red for right and black for left. Again, insert each stripped end of the speaker wire into the correct terminal before tightening any screws that may be present.
5. And that’s it!
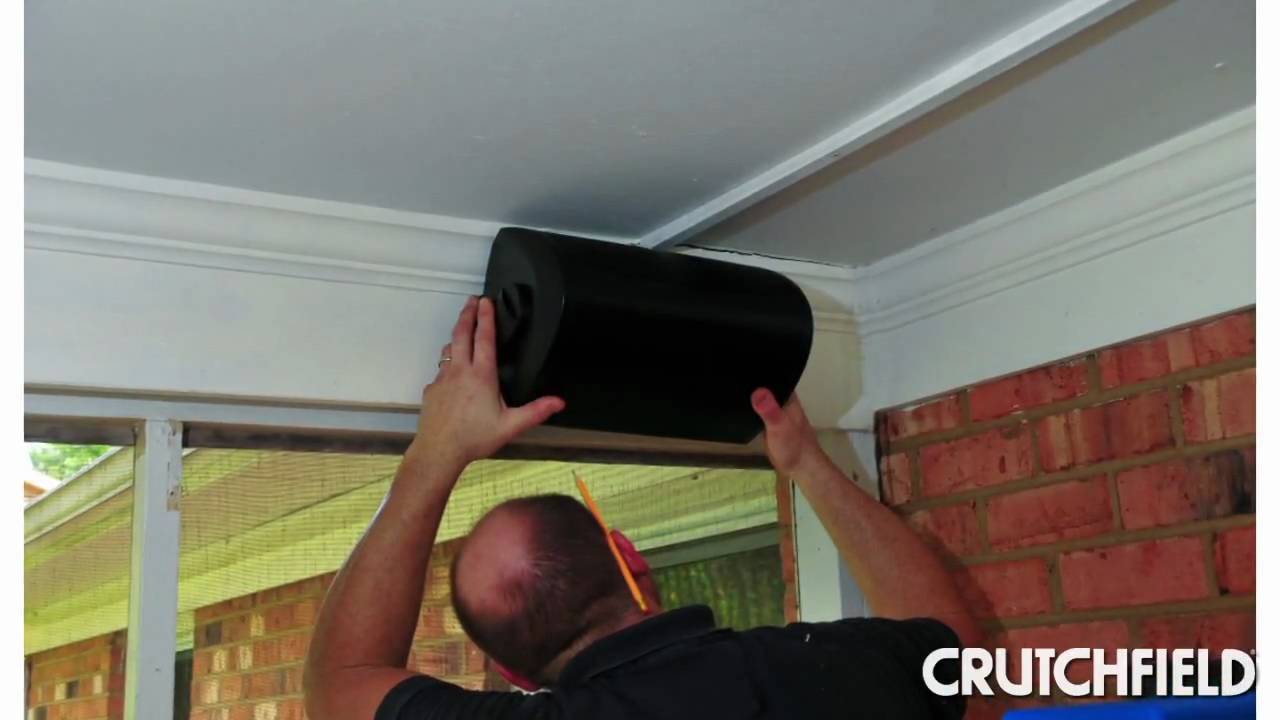
Let’s set up some speakers outside!
Conclusion
Outdoor speakers are a great way to enjoy music in your backyard or on your patio, but you need to wire them up properly to get the best sound quality. Here’s how to do it:
1. Choose the right location for your outdoor speakers.
They should be placed high enough so that they’re not obstructed by furniture or plants, and far enough away from the house so that they don’t pick up any unwanted noise from inside.
2. Run the speaker wire from your receiver to the location of your outdoor speakers. Be sure to use weather-resistant wire and make all connections tight and secure.
3. Connect the positive (red) wire to the positive terminal on the speaker, and connect the negative (black) wire to the negative terminal. Repeat this process for each speaker.
4. Turn on your receiver and test out your new outdoor speakers!